
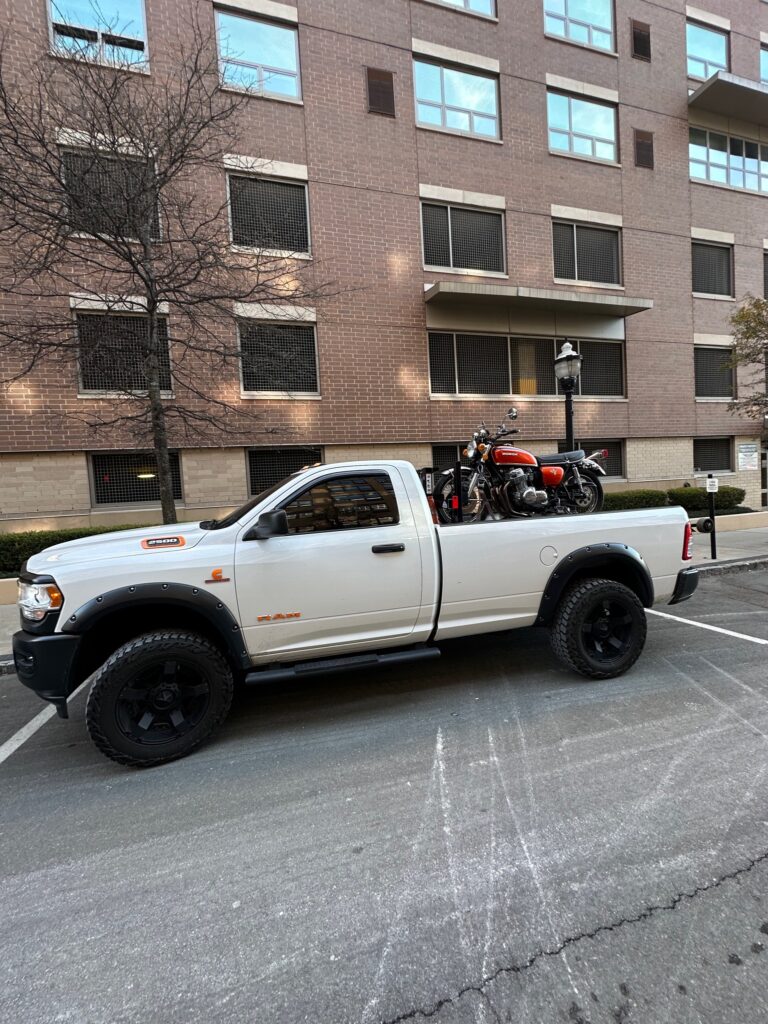
A Dirt bike park day begins in the garage, where a ten-minute inspection can prevent a wasted drive or a mechanical problem on the trail. Preparation should follow the order the bike will experience the day: confirm the park’s rules, inspect the machine cold, pack tools and protective gear, secure the load, and preserve enough energy for the trip home.
Read the park rules before touching a wrench
Check the park’s current website or contact the operator for hours, closures, skill-area access, sound limits, required safety gear, permits, waivers, age rules, and whether fuel or maintenance is allowed in the parking area. Weather can close trails even when the sky above the city is clear. Save the park’s contact number and directions because reception may be weak near the entrance.
Know which motorcycle is allowed. A facility may distinguish between registered dual-sport motorcycles, competition dirt bikes, electric bikes, and youth machines. Do not assume a video from last season reflects today’s policy.
Inspect the bike while it is clean and cold
Follow the owner’s manual for fluid levels, fastener checks, chain or belt condition, and tire pressure. Examine spokes or wheels, controls, grips, cables or hydraulic lines, foot pegs, brake feel, air filter condition, and signs of leakage. Turn the handlebar fully and make sure wiring or hoses do not pull. Replace questionable parts at home, not beside the trailhead.
Look for loose plastics, guards, cameras, and accessories. Off-road vibration can turn a minor looseness into a lost component. Use the correct tools and torque guidance; overtightening is not preventive maintenance. Start the bike long enough to confirm normal operation without disturbing neighbors or filling an enclosed space with exhaust.
Dirt bike park setup should reflect conditions
Tire pressure, suspension, and control adjustments depend on the motorcycle, rider, terrain, and manufacturer guidance. Record the baseline before making changes so you can return to it. Avoid copying another rider’s settings without understanding differences in weight, pace, and equipment. If you are unsure, ask a qualified technician rather than experimenting on the first lap.
Protective equipment should include a properly fitted off-road helmet, eye protection, boots, gloves, and body protection suitable for the activity. Inspect buckles, straps, lenses, and helmet condition. Pack dry socks and a change of base layer; comfort after a wet session matters on the drive home.
Build a small, useful paddock kit
- Tools that actually fit the motorcycle’s common fasteners.
- Tire gauge and inflation method appropriate for the bike.
- Spare lever or other model-specific item you know how to replace.
- Chain care supplies when the manual calls for them.
- Rags, gloves, bags for waste, and an absorbent pad.
- Water, food, sunscreen, and basic first-aid supplies.
- Charging cable, emergency contacts, and offline directions.
A heavy toolbox is not automatically a better toolbox. Bring what you can use safely and pack fluids upright in sealed containers. Leave the parking area cleaner than you found it.
Secure the motorcycle for transport
Use a trailer or transport setup rated for the load, with a stable wheel chock and sound attachment points. Soft loops can protect finished surfaces when placed at appropriate structural areas. Keep straps away from brake lines, controls, plastics, and sharp edges. Compress the suspension enough to stabilize the bike without forcing it through excessive travel. Secure the loose strap ends.
After the first short stretch of travel, stop in a legal place and recheck the load. Straps can settle as the motorcycle moves. Do not climb onto a shoulder or stand in traffic to make an adjustment. A second planned check is wise after rough roads.
Separate riding gear from dirty-bike gear
Pack helmet and protective equipment where fuel, chain lubricant, and muddy tires cannot contaminate them. Keep keys, waiver information, and identification together. Use a bin or mat for boots and wet clothing after the session. The return trip is easier when clean vehicle seats and fragile gear are not sharing space with mud and tools.
If several riders travel together, label fuel cans, keys, and gear bags. Decide which person verifies each tie-down instead of assuming someone else did it. A thirty-second spoken load check reduces group ambiguity.
Pace the first laps
Walk unfamiliar staging areas and review trail markings before riding. Begin below your maximum pace while the rider and motorcycle warm up. Note changes in brake feel, controls, or engine response. Stop when something feels wrong; trying to “finish one more lap” can turn a small mechanical issue into a recovery problem.
Hydration and fatigue affect judgment. Schedule breaks before concentration fades. A rider who is too tired to load the motorcycle carefully has stayed too long, even if the park remains open.
Have a recovery plan that does not depend on riding home
Write down the park address, pickup access, motorcycle description, and destination mechanic before departure. MAD Transpo NYC lists dirt-bike transportation among its motorcycle services in the New York City metropolitan area. If the bike cannot be ridden or the transport setup fails, accurate location and condition details make the request clearer.
On returning home, unload on a stable surface, inspect for damage, clean the motorcycle according to manufacturer guidance, and note maintenance needed before the next ride. Preparation for the next park day starts with what today’s ride revealed.
Fuel planning should respect the facility
Estimate consumption for riding and leave a sensible reserve without carrying unnecessary fuel. Use only approved containers, keep them upright and secured, and follow transport and park rules. Never fuel near ignition sources or while the motorcycle is hot unless the manufacturer and facility procedure permits it. Clean spills with the proper materials and notify staff when required.
Electric dirt-bike riders have parallel questions: charging availability, connector, power rules, battery transport guidance, and whether a pack may be charged indoors. Confirm directly with the park. An outlet visible in a photo is not permission.
Use the final walkaround to switch modes
Before leaving home, touch each tie-down, hitch connection, safety chain, ramp latch, light connector, and cargo-bin closure in a deliberate sequence. At the park, reverse the sequence without letting eager riders crowd the unloading area. Before the return, inspect the bike again because a day of riding may have loosened or damaged the very points used for transport.
This ritual separates workshop assumptions from travel reality. It also gives the driver a quiet moment to notice fatigue. If attention is poor, eat, hydrate, and rest before towing. The most polished trail session is not worth an unsafe drive home.
Respect trail closures during the day
A route that was open in the morning can close for weather, maintenance, an incident, or capacity. Follow staff directions and current signs instead of following tracks around a barrier. Unauthorized riding damages the facility and can delay emergency access. If the desired terrain is unavailable, use an approved alternative or save it for another visit.
Record setup changes before leaving
Write down tire pressure and approved suspension or control adjustments made for the session. Return settings needed for transport or road use according to the motorcycle manual. Memory is unreliable after hours of riding, and an unexplained change can confuse the next inspection.
Emergency information should travel with the rider
Carry an emergency contact, relevant medical information, and park address in a form rescuers can find without unlocking a phone. Tell companions where it is. This does not replace the park’s waiver or emergency plan; it makes essential information available when the rider cannot explain it.
If the dirt bike needs a planned ride to the park, a trip to a mechanic, or recovery back toward New York City, share the bike condition and both access points with MAD Transpo NYC.